


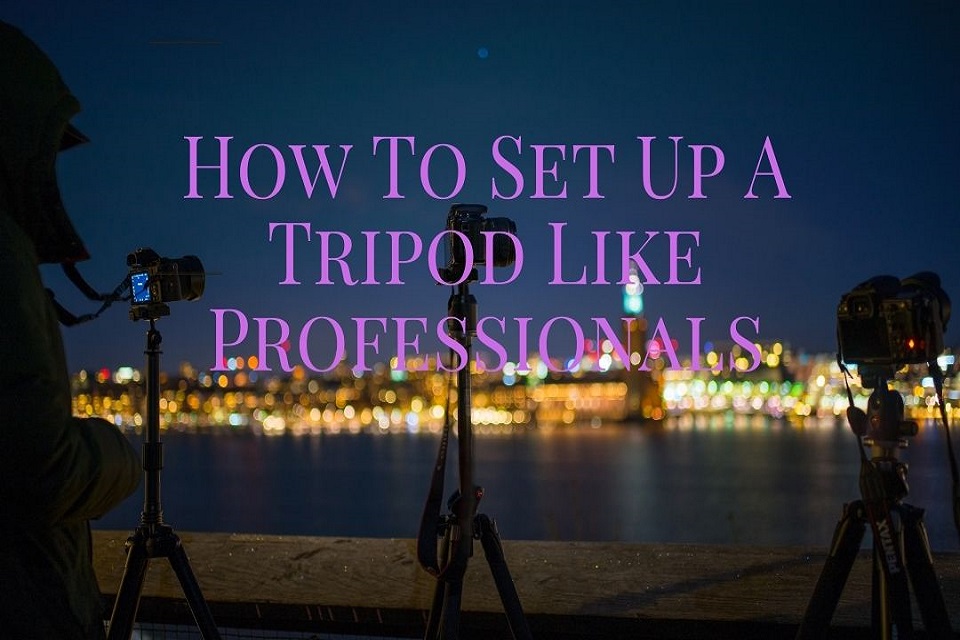
How to Set Up a Tripod: A Step-by-Step Guide
Introduction to set up a tripod
Setting up a tripod correctly is crucial for capturing stable and professional-looking photographs and videos. Whether you’re a professional photographer or a casual hobbyist, knowing how to set up your tripod properly can make a significant difference in the quality of your work. In this article, we’ll provide you with a step-by-step guide on how to set up a tripod for different scenarios, ensuring you get the most out of this essential photography tool.
1. Choosing the Right Tripod
Before setting up your tripod, it’s essential to choose the right one for your needs. Consider factors like weight, height, stability, and compatibility with your camera equipment. A sturdy tripod that can support the weight of your camera and lenses is a must for professional results.
2. Inspecting Your Tripod
Inspect your tripod before every use to ensure all parts are in good working condition. Check for loose screws, damaged leg locks, and any signs of wear. Regular maintenance will extend the life of your tripod and prevent unexpected mishaps during shoots.
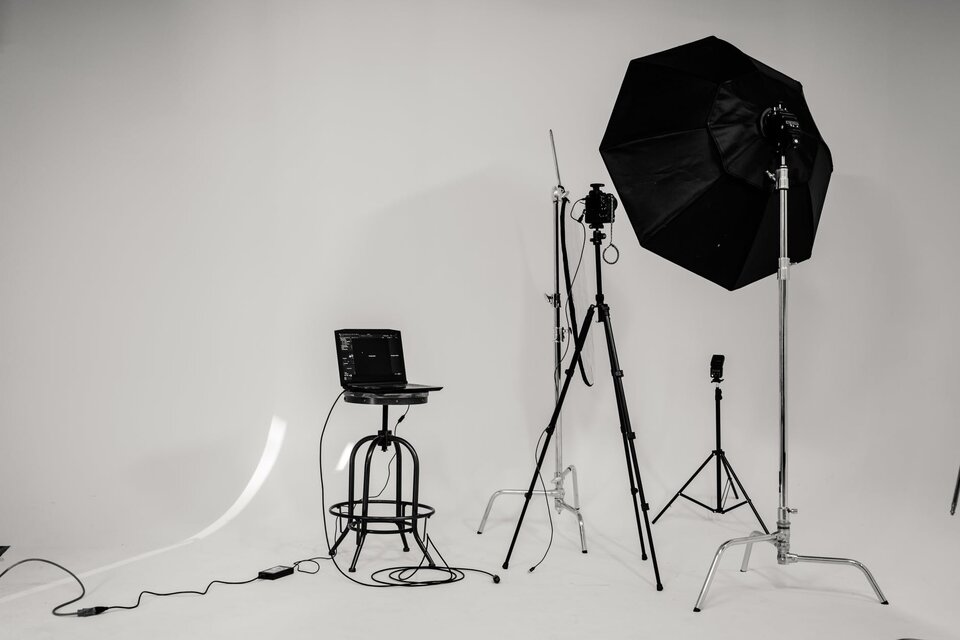
3. Adjusting the Leg Length
Most tripods have adjustable legs with multiple sections. To set up your tripod correctly, release the leg locks and extend the legs to your desired height. Make sure the legs are even to maintain stability.
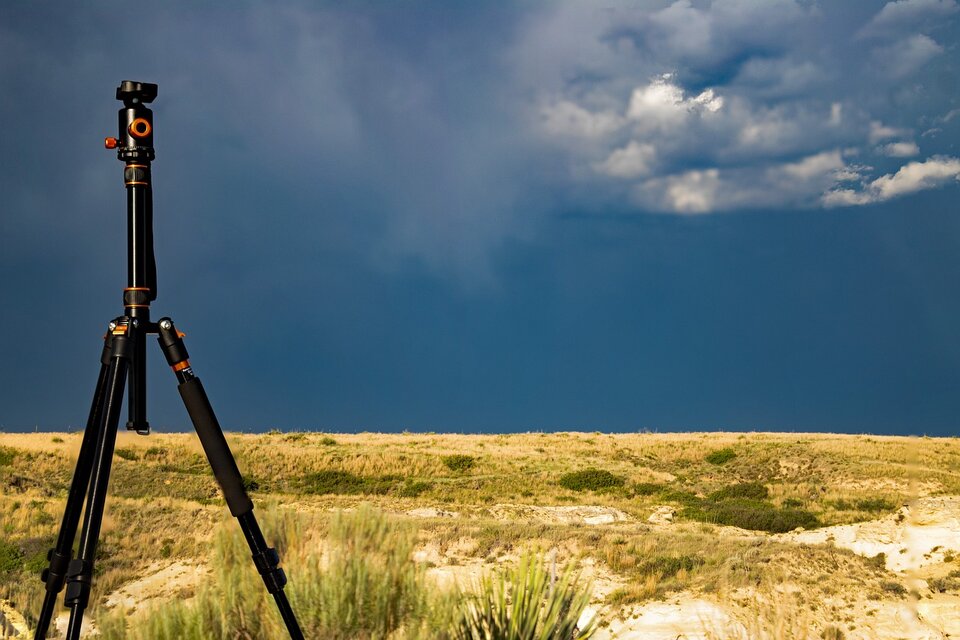
4. Setting Up on Uneven Ground
Leveling your tripod on uneven terrain is essential for stability. If your tripod has a built-in bubble level, use it to align the legs properly. Otherwise, use a small handheld level to ensure your setup is even.
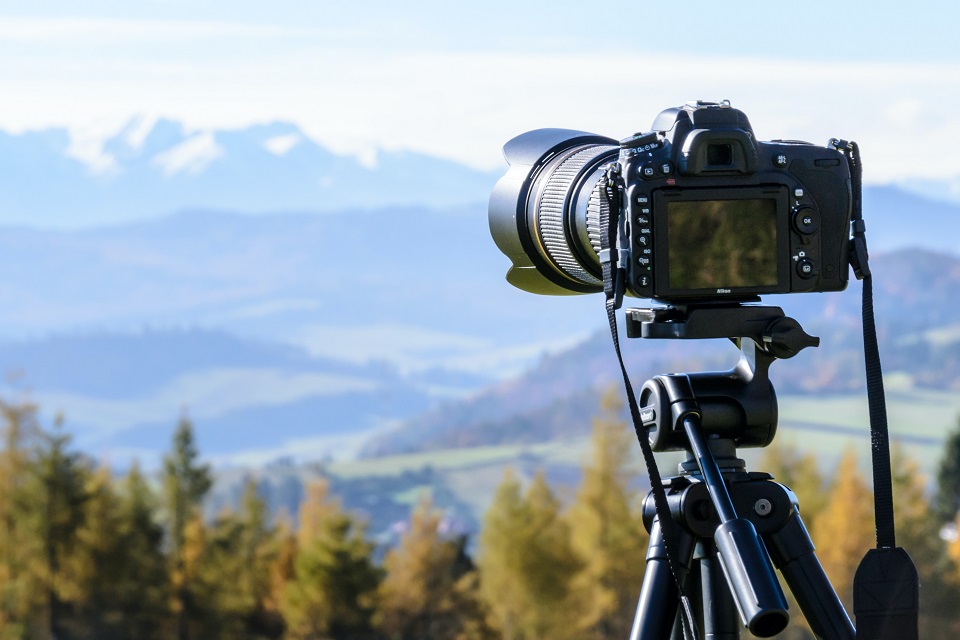
5. Attaching the Camera
Carefully attach your camera to the tripod head using a quick-release plate or screw mount. Make sure it’s securely fastened to prevent any accidental falls. Double-check that your camera is level using the viewfinder or the camera’s built-in level.
6. Using a Tripod for Long Exposures
Tripods are especially useful for long exposure shots, such as capturing light trails or smooth water effects. Use a remote shutter release or the camera’s self-timer to avoid camera shaking during long exposures.
7. Panning and Tilting
Many tripods come with a pan and tilt head, allowing you to follow moving subjects smoothly. Practice panning and tilting to master this technique, as it can add a dynamic element to your photos and videos.
8. Using a Tripod for Videography
For shooting videos, a tripod provides the stability needed for smooth and steady footage. Invest in a fluid video head for precise movements, and use slow panning and tilting for professional-looking results.
9. Tips for Stable Tripod Setup
Use the tripod’s center column sparingly to minimize vibrations.
Hang a weight or your camera bag from the tripod’s hook to increase stability in windy conditions.
Avoid extending the tripod’s center column fully for added stability.
10. Common Mistakes to Avoid
Using a cheap and flimsy tripod that can’t support your camera’s weight.
Neglecting to tighten leg locks properly, leading to an unstable setup.
Ignoring the tripod’s maintenance needs, resulting in a shorter lifespan.
11. Cleaning and Maintaining Your Tripod
Regularly clean your tripod with a soft brush or cloth to remove dirt and debris. Lubricate the leg locks with silicone grease to keep them functioning smoothly.
12. Traveling with Your Tripod
When traveling, invest in a lightweight and compact tripod that fits easily into your bag. Some tripods even fold down to the size of a water bottle, making them ideal for on-the-go photographers.
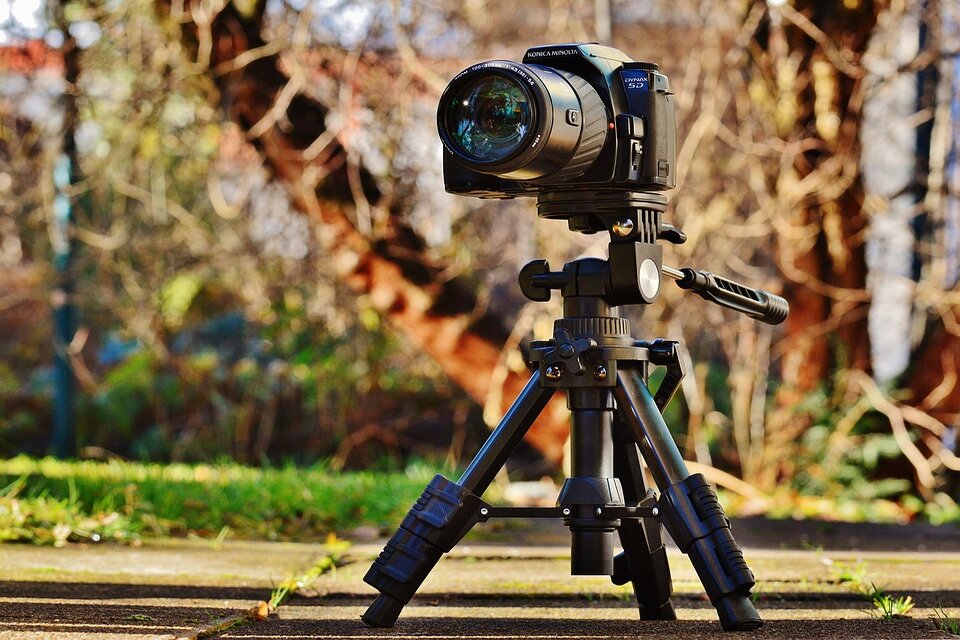
13. Alternative Tripod Types
Explore other tripod types, such as tabletop tripods, monopods, and flexible GorillaPods. Each serves specific purposes and can be a valuable addition to your gear collection.
14. Exploring Creative Tripod Techniques
Experiment with creative tripod techniques, such as shooting from unusual angles or using your tripod to support reflectors and diffusers. Let your imagination guide you to unique shots.
Conclusion
Setting up a tripod properly is a fundamental skill for any photographer or videographer. By following the step-by-step guide provided in this article, you can ensure that your tripod setup is stable, secure, and ready to capture stunning visual content. Embrace the versatility of your tripod, and it will become an indispensable tool in your photography arsenal.
FAQs
Why is a tripod important for photography? A tripod provides stability and reduces camera shake, resulting in sharp and clear images.
Can I use a tripod for smartphone photography? Yes, many tripods come with smartphone mounts, making them compatible with mobile photography.
What is the ideal tripod height for most photographers? The ideal height should be around eye level when the tripod is fully extended, but it’s a matter of personal preference.
Can I use a tripod for action photography? While tripods are not commonly used for action shots, they can be handy for specific techniques like panning.
Do I need a heavy-duty tripod for professional cameras? Yes, a heavy-duty tripod is recommended for professional cameras and heavy lenses to ensure stability and safety.