


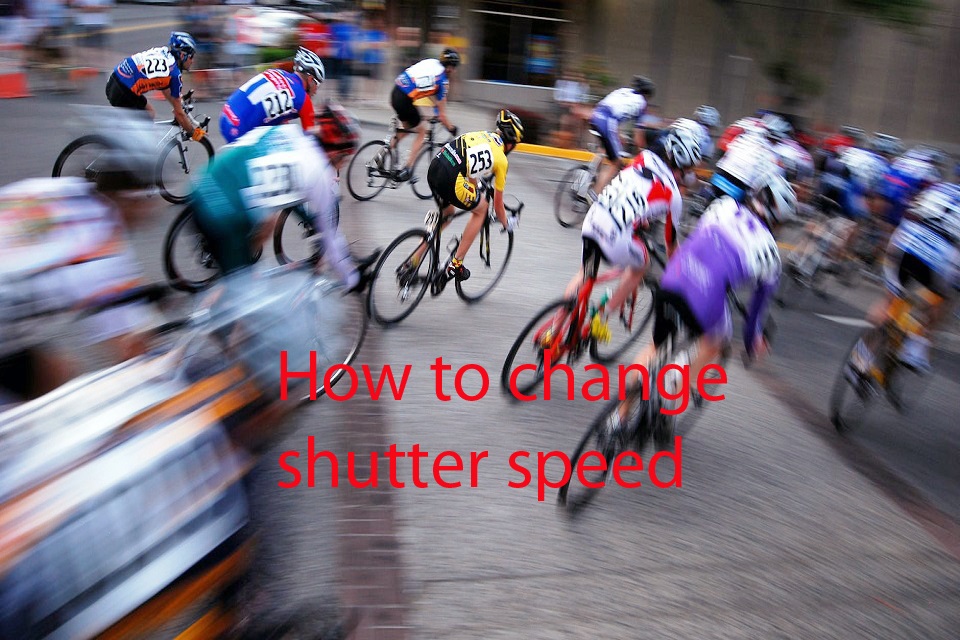
How to change Shutter Speed
Camera manuals are so complex that newbie photographers find it hard like crossing a mountain. How to change shutter speed is the question they mostly asked, since a camera is filled with menus, buttons, and dials.
Shutter speed determines the sharpness of an image. The faster or slower the shutter speed, the sharper or blurrier the picture would be. To ace, photography skills, understanding the change and/or adjustment of the shutter speed is a must.
If you are confused about the shutter speed stuff and looking for answers on how to handle it, you are at the right place. Here you will find out the science behind shutter speed and how to deal with it.
What is shutter speed and how does it work
Getting the desired shutter speed is not just only centered on the customization of the shutter speed. Rather, it is all about the settings of the exposure triangle, including shutter speed, ISO, and aperture. To create attractive and artistic photos, ISO and aperture are equally important as the shutter speed.
Before elaborating on the adjustment of shutter speed, know briefly what shutter speed, aperture, and ISO are. Shutter speed indicates a camera’s opening and closure rate within a second. The aperture is a hole that controls the passing light through the camera lens, and ISO refers to the camera’s sensitivity to light.
Higher values of shutter speed of aperture result in sharp images. The higher the shutter speed, the faster the camera freezes motion. In the daytime, the aperture value must be higher and lower at nighttime. A higher ISO value brightens the image. Things turn out completely different if all three values go lower.
You can either choose the Manual or Shutter Priority mode to change the shutter speed of your camera. But don’t leave the shutter on Auto mode, which will end in disaster. The purpose of the shutter is to freeze action or capture motion of a subject. When left in the Auto mode, the shutter will be neither fast nor slow and fail to provide expected shots in the given light.
The Automatic mode will try its best to capture the sharpest photo in the given light. However, most of the time the photos will turn blurry. So it is important to set the camera in semi-automatic mode.
The setting of the semi-automatic mode includes the priority of the shutter speed or aperture. You have to prioritize anyone, and the camera will do the rest. Choose shutter speed to set, the camera will automatically indicate the best ISO and aperture. On the other hand, the setting of the aperture leads the camera to auto-select the best shutter speed and ISO to capture photos.
In the Manual mode, rotate the dials indicating shutter speed, ISO, and aperture. You can only set any one or two among them if you want. Remember that all three components of the exposure triangle need to be set differently in the daytime and nighttime. So set them accordingly to get the best photos. The following sections describe the change in the shutter speed in Manual and Shutter Priority modes.
How to change shutter speed
Changing the shutter speed may vary in different cameras, but the process is the same. Make sure to turn on the camera when setting the exposure triangle. Learn how to set shutter speed in Canon, Nikon, and Sony digital cameras.
How to change shutter speed on Canon
Some Canon cameras have a mini screen on the rear side to show the exposure triangle settings you decide on. Alternatively, some cameras directly show them on the display screen. Be it Manual or Shutter Priority mode, the screen will show the changing view in accordance with the changing shutter speed.
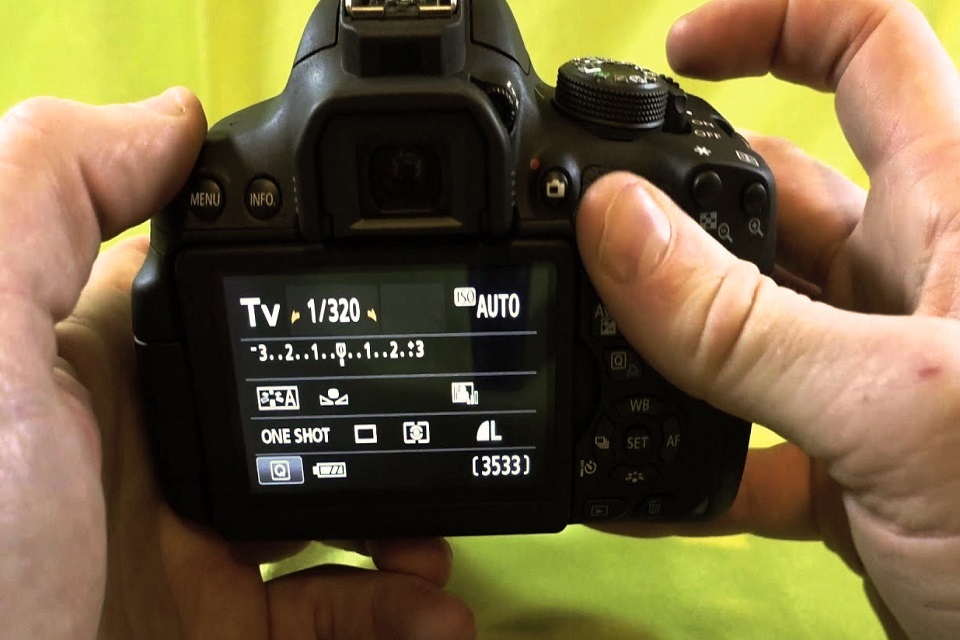
- On the upper side of the camera, there will be a circular/command dial with modes, including M, AV, Auto, etc. For the Manual shutter speed mode, rotate the dial till the M meets the white thin-lined indicator at the left side of the dial.
- If the camera has a mini screen located near to the dial, the shutter speed will show on the screen. If not, check the display screen to find it out in fractions of a second.
- Now rotate the black rear dial located on the top of the camera to increase or decrease the shutter speed. You will find it near the shutter release button. Turning the dial to the right side will increase the shutter speed, and turning to the left will decrease it.
- To set the aperture, rotate the command dial into AV or A (Aperture Value) and turn the rear dial to adjust it. The same goes for the ISO value, but before that, you need to press the small black button indicating ISO located at the top right corner, because the circular dial does not have an ISO indicator.
- The Shutter Priority mode in Canon is indicated in TV or Time Value mode. Follow the process of the Manual mode to set the shutter speed in TV mode. A small difference is that here the aperture and ISO need not be set manually, the camera will take care of it.
How to change the shutter on Nikon
The settings in Nikon cameras are a bit different than in Canon cameras. In this brand, S stands for Shutter Priority mode, and the aperture setting is related to the exposure compensation (+/-) button. Also, some Nikon cameras have two dials to change and adjust the shutter speed and aperture individually.
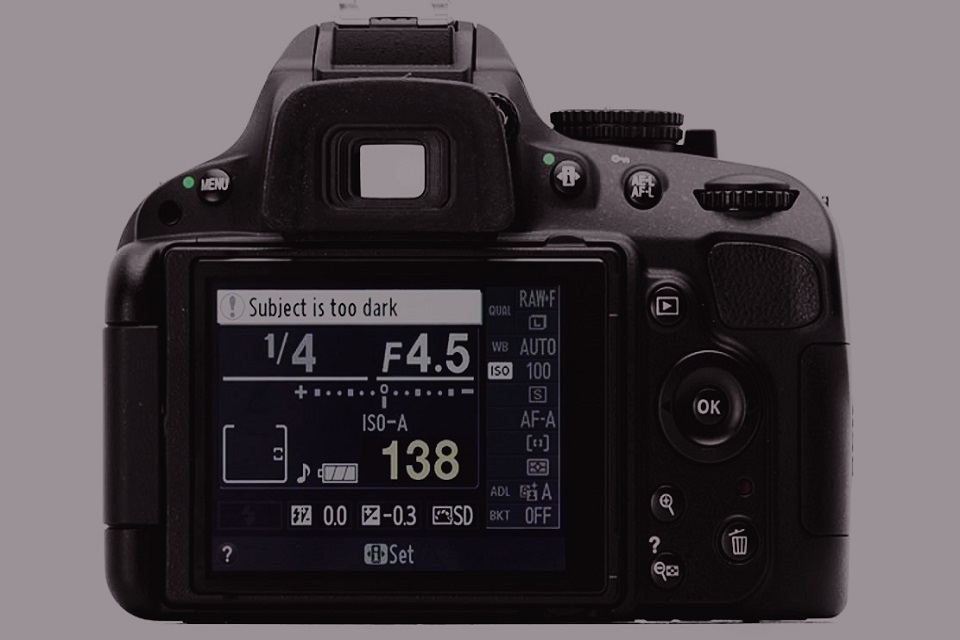
- For the Manual mode, rotate the command dial to the M, and turn the rear dial to the left or right to change the shutter speed.
- To change the aperture value manually, press and hold the exposure compensation (+/-) button and turn the rear dial. Some models have a back dial for shutter speed and a front dial for aperture, so turn accordingly. For the Aperture Priority mode, you have to rotate the command dial into A or AV.
- Before adjusting the ISO value manually or semi-automatically, make sure to turn off the Auto ISO option from the menu. Otherwise, ISO adjustment will be hard. Press the ISO button first and turn the dial to adjust it.
- Rotate the command dial into S for changing the shutter speed in the Shutter Priority mode. And the camera will decide the aperture value. You may have to manually adjust the ISO value here.
How to change shutter speed on Sony
Unlike Canon and Nikon, Sony cameras are mirrorless. But changing the shutter speed here is as simple as changing that in Canon and Nikon. However, like some Nikon cameras, Sony cameras have multiple dials for exposure settings.
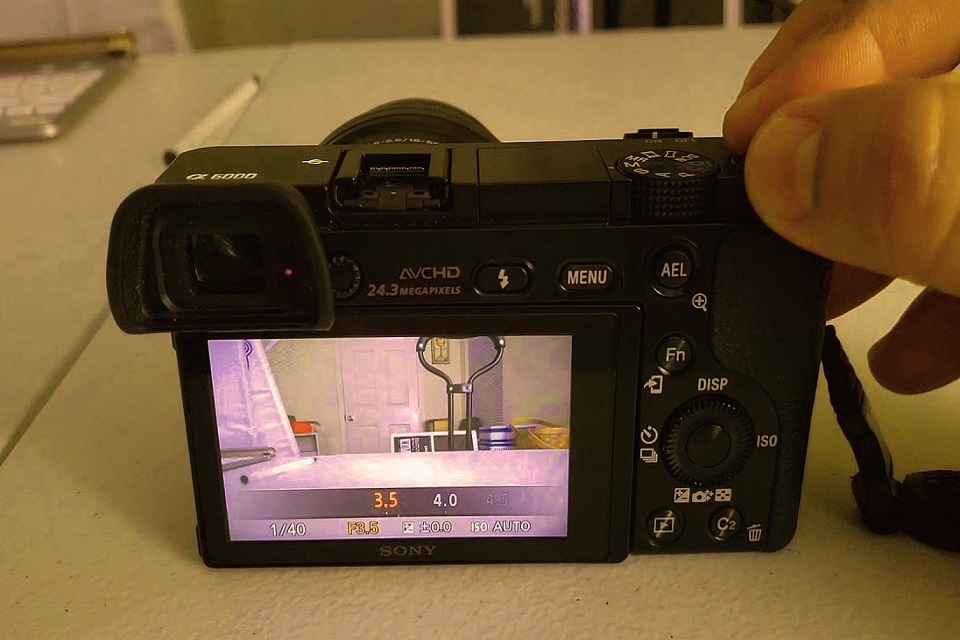
- Having the camera turned on, turn the command dial into M for Manual Exposure. Press the bottom side of the control wheel or main dial to change the shutter speed. Turn the dial to the left or right to select a shutter speed value.
- There will be two dials in the camera respectively for the aperture and the ISO. Rotate the front dial to select an aperture value and the rear dial for the ISO value. Make sure the Auto ISO option is turned off.
- For the Shutter Priority mode, turn the command dial into S and the control wheel to the left or right. Aperture value will be taken care of by the device itself. Turn the command dial into A or AV to get the Aperture Priority mode.
The bottom line
Are you clear about how to change shutter speed? If not, read this write-up repetitively, practice a few times, and have fun! Shutter speed largely affects your image quality, so be careful about it.
Changing the shutter speed alone may not necessarily emphasize changing the other two options, but adjusting the three at once will do good. If you think that the Shutter Priority mode will make the job easier, then go for it.
Each time you change shutter speed, note down what happens to your image, this way you can reach the desired shutter speed.