

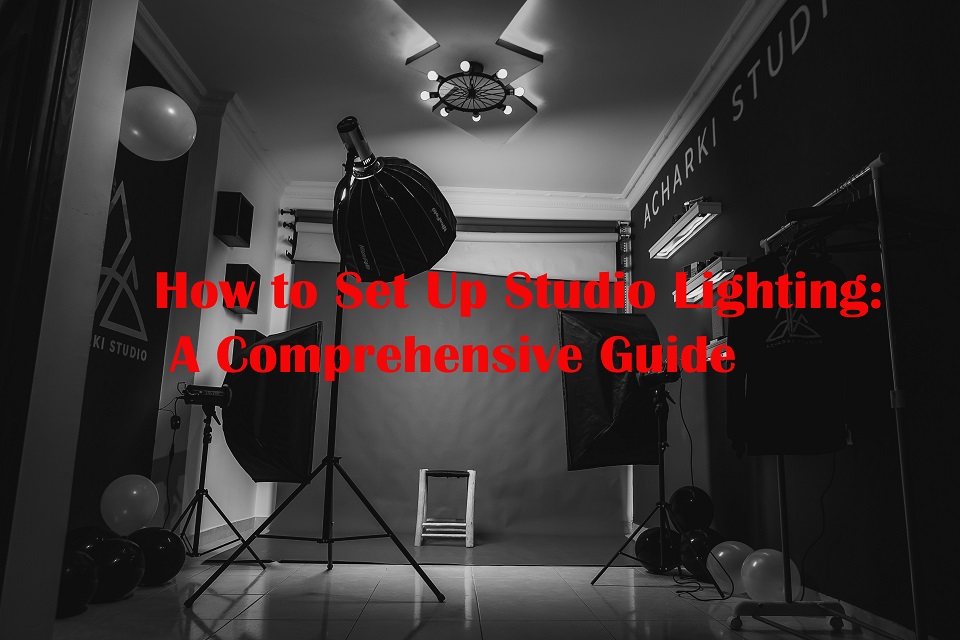
How to Set Up Studio Lighting: A Comprehensive Guide
If you’re a photography enthusiast or a content creator, achieving the perfect lighting setup in your studio is crucial for capturing stunning visuals. Studio lighting can make or break your photos and videos, creating the desired atmosphere and highlighting the subject’s features. In this guide, we’ll walk you through the steps of setting up studio lighting like a pro, ensuring your creations are top-notch.
Table of Contents
Introduction
Setting up studio lighting might seem intimidating at first, but with the right knowledge and equipment, you can achieve stunning results that elevate your photography or videography to new heights. Whether you’re a beginner or an experienced artist, this guide will provide you with step-by-step instructions to create the perfect lighting setup for your creative projects.
Understanding the Importance of Studio Lighting
Studio lighting is all about controlling light to enhance the aesthetics of your subject. It shapes the mood, highlights details, and adds depth to your visuals. Whether you’re capturing portraits, products, or artistic compositions, proper lighting can make your work stand out in a competitive landscape.
Types of Studio Lighting Equipment
When it comes to setting up your studio lighting, having the right equipment is essential. Different types of lighting equipment offer distinct benefits and effects, allowing you to achieve the desired look for your photographs or videos. Understanding these types of studio lighting equipment will help you make informed choices to enhance your creative work.
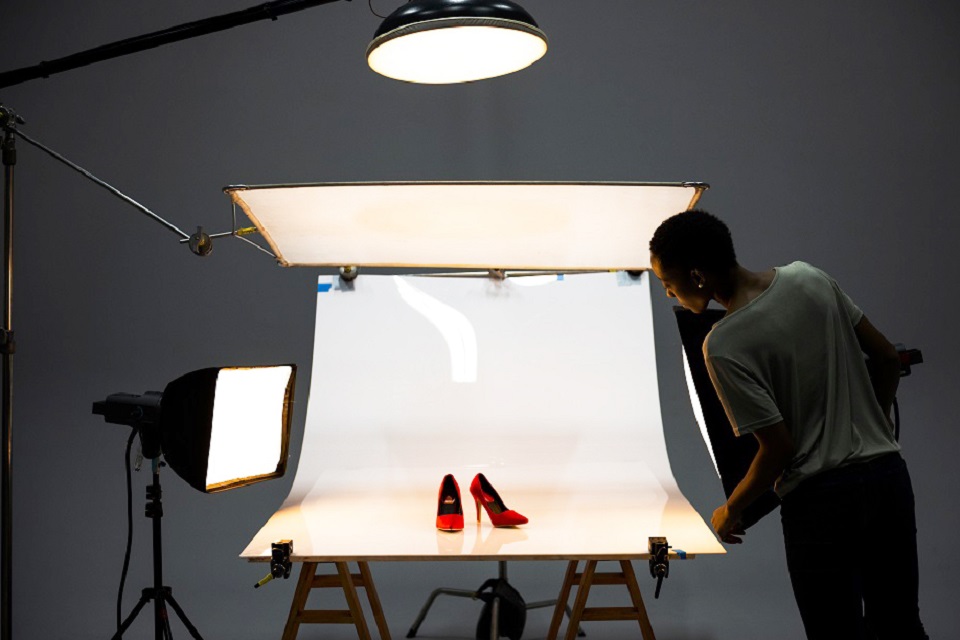
Continuous Lighting
Continuous lighting provides a constant, steady light source that remains illuminated throughout your shoot. This type of lighting is especially useful for beginners, as it allows you to see how light interacts with your subject in real time. It’s also ideal for video shoots, where you need consistent lighting for extended periods.
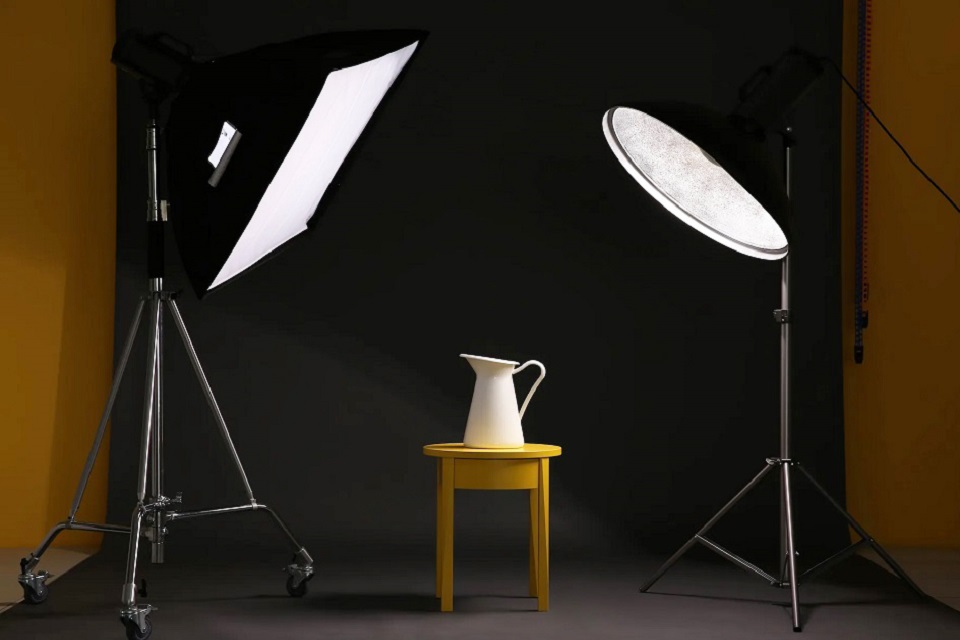
Copyright: ©Africa Studio – stock.adobe.com
Advantages:
- Real-time preview of lighting effects.
- Suitable for both photography and videography.
- Helps beginners understand light behavior.
Disadvantages:
- Generates heat over prolonged use.
- Can be less energy-efficient compared to strobe lighting.
- May require color correction for accurate tones.
Strobe Lighting
Strobe lighting, also known as flash lighting, produces powerful bursts of light at specific intervals. This type of lighting is commonly used in professional studios due to its versatility and ability to freeze motion. Strobe lights are well-suited for photography, providing a high-intensity burst of light that captures crisp shots.
Advantages:
- High-intensity light output for well-lit images.
- Freezes motion, making it ideal for action shots.
- Energy-efficient as it uses short bursts of light.
Disadvantages:
- Requires synchronization with the camera.
- May have a slight learning curve for beginners.
- Not as suitable for continuous lighting setups.
Essential Tools You’ll Need
Light Sources
The choice of light sources is the foundation of your studio lighting setup. There are various options available, each with its own characteristics and advantages.
LED Panels: LED panels are popular due to their energy efficiency and adjustable color temperature. They provide a consistent and versatile light source, making them suitable for various photography styles.
Fluorescent Lights: These lights emit soft, diffused light, making them great for portrait photography. They’re cooler than incandescent lights and provide a wide color temperature range.
Tungsten Bulbs: Tungsten bulbs produce a warm, natural-looking light. They’re commonly used in film and video production due to their consistent color temperature.
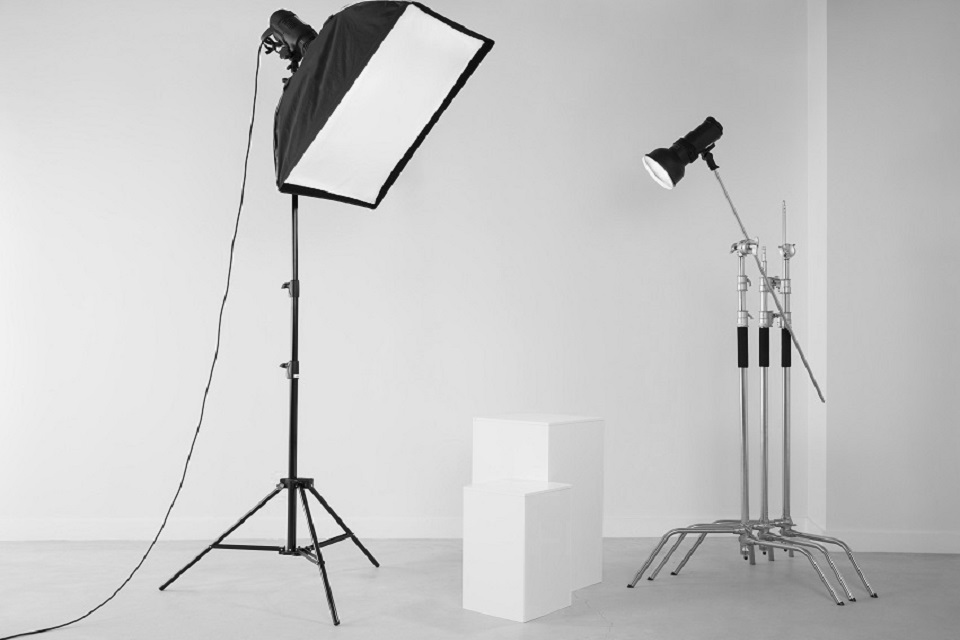
Light Modifiers
Light modifiers shape and control the direction of light, allowing you to achieve specific effects.
Softboxes: Softboxes create soft, even lighting with gentle shadows. They’re commonly used for portrait photography and product shots.
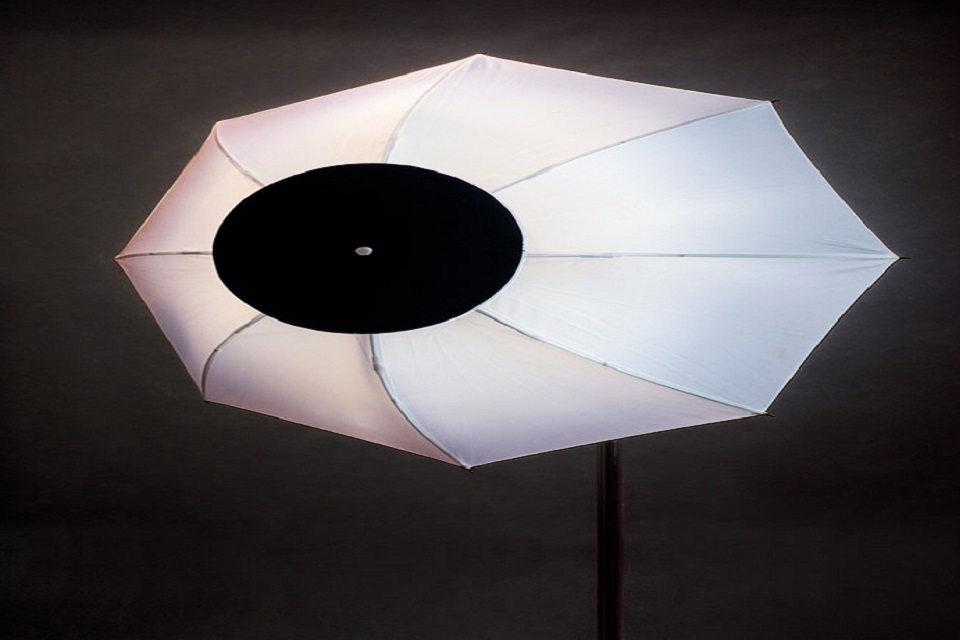
Umbrellas: Umbrellas scatter and diffuse light, producing a broader and softer illumination. They’re versatile and suitable for various lighting setups.
Reflectors: Reflectors bounce light back onto the subject, reducing shadows and adding fill light. They come in various colors and surfaces for different effects.
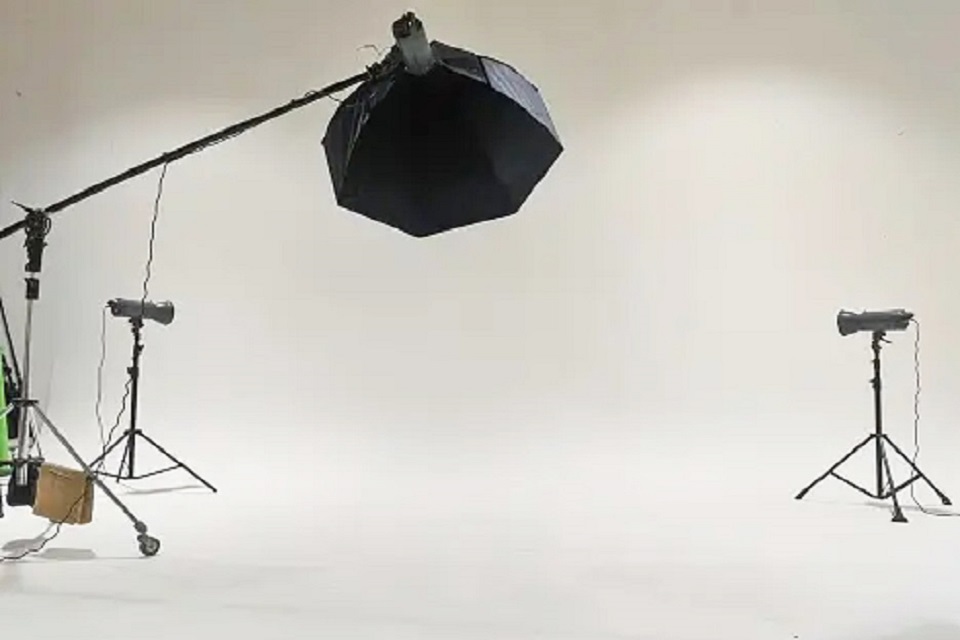
Light Stands and Booms
Light stands and booms are essential for positioning your lights precisely where you need them.
Light Stands: Sturdy light stands to provide stability for your lights. They’re adjustable in height and can hold various types of lighting equipment.
Booms: Booms allow you to suspend lights from above, offering more flexibility in positioning and avoiding obstructions on the floor.
Choosing the Right Lighting Setup
Portrait Lighting
Portrait lighting aims to highlight your subject’s features while minimizing imperfections. The classic “Rembrandt lighting” technique, creating a small triangle of light under one eye, is a popular choice.
Product Photography Lighting
When capturing products, even lighting is essential. Use diffusers and bounce cards to eliminate harsh shadows and ensure every detail is visible.
Three-Point Lighting Technique
This technique involves a key light, fill light, and backlight. The key light is the main light source, the fill light softens shadows, and the backlight adds depth by separating the subject from the background.
Setting Up Your Studio
Selecting the Perfect Location
Choose a spacious area with enough room to accommodate your equipment and subjects comfortably. Natural light from windows can complement your setup.
Preparing the Backdrop
Your choice of backdrop depends on the mood you want to convey. Seamless paper, fabric, or customized setups can enhance the visual appeal of your shots.
Assembling Your Lighting Equipment
Positioning the Main Light
Place your key light at a 45-degree angle to the subject, creating a natural play of light and shadows. Adjust the height to avoid unflattering shadows under the eyes.
Adding Fill Lights
Fill lights soften the shadows created by the key light. They can be placed directly opposite the key light or at a lower intensity on the same side.
Including Hair/Background Lights
To separate your subject from the background, use hair or background lights. These lights add depth and dimension to your shots.
Adjusting and Tweaking the Setup
Balancing Light Intensity
Ensure that the lights’ intensity is balanced to avoid overexposed or underexposed areas. Use a light meter to measure the light levels accurately.
Modifying Shadows and Highlights
Experiment with the angle and distance of your lights to control the shadows and highlights. This tweaking process is essential to achieve your desired outcome.
Testing and Refining Your Setup
Taking Test Shots
Capture test shots to evaluate how the lighting interacts with your subject. Review the images to identify areas that need improvement.
Making Necessary Adjustments
Based on the test shots, make necessary adjustments to light angles, distances, and intensities. Fine-tune until you achieve the perfect lighting balance.
Tips for a Flawless Studio Lighting Setup
Properly Diffusing Light
Diffusion materials like softboxes and diffusers create a softer, more flattering light. They help reduce harsh shadows and create even illumination.
Avoiding Glare and Reflections
Reflective surfaces can cause unwanted glare and reflections. Use polarizing filters and adjust angles to minimize these distractions.
Creating Mood with Colored Gels
Colored gels placed over lights can add creative flair to your photos. Experiment with different colors to evoke various moods and emotions.
Common Mistakes to Avoid
Overlooking White Balance
Correct white balance ensures accurate color representation. Failing to adjust it can result in unrealistic or unflattering tones.
Neglecting Light Angles
The angle of your lights drastically affects the mood and appearance of your shots. Experiment with angles to find the most flattering look.
Conclusion
Mastering studio lighting is a skill that takes time and practice to perfect. By understanding the equipment, techniques, and principles outlined in this guide, you’re well on your way to creating professional-quality visuals that capture attention and convey your artistic vision.
FAQs
1: How do I choose between continuous and strobe lighting?
The choice between continuous and strobe lighting depends on your specific needs. Continuous lighting provides a real-time view of how light interacts with your subject, making it suitable for beginners and video shoots. Strobe lighting, on the other hand, offers powerful bursts of light that freeze motion and are commonly used for photography.
2: Can I use natural light along with studio lighting?
Yes, you can definitely use natural light in combination with studio lighting. Natural light can complement your setup and provide a more natural look. However, it’s important to manage the balance between the two to achieve the desired effect.
3: What are some affordable options for light modifiers?
There are various affordable options for light modifiers. Softboxes, reflectors, and umbrellas are often reasonably priced and can significantly improve the quality of your lighting setup.
4: Is there a one-size-fits-all approach to portrait lighting?
There isn’t a one-size-fits-all approach to portrait lighting, as different subjects and desired effects require different setups. Experiment with techniques like Rembrandt lighting and butterfly lighting to find what works best for each individual.
5: How do I prevent my subjects from squinting due to bright lights?
To prevent subjects from squinting, adjust the intensity of your lights and provide them with breaks in between shots. Using diffusers or bouncing the light off walls or reflectors can also help soften the light and reduce discomfort.